- Afrikaans
- Albanian
- Amharic
- Arabic
- Armenian
- Azerbaijani
- Basque
- Belarusian
- Bengali
- Bosnian
- Bulgarian
- Catalan
- Cebuano
- Corsican
- Croatian
- Czech
- Danish
- Dutch
- English
- Esperanto
- Estonian
- Finnish
- French
- Frisian
- Galician
- Georgian
- German
- Greek
- Gujarati
- Haitian Creole
- hausa
- hawaiian
- Hebrew
- Hindi
- Miao
- Hungarian
- Icelandic
- igbo
- Indonesian
- irish
- Italian
- Japanese
- Javanese
- Kannada
- kazakh
- Khmer
- Rwandese
- Korean
- Kurdish
- Kyrgyz
- Lao
- Latin
- Latvian
- Lithuanian
- Luxembourgish
- Macedonian
- Malgashi
- Malay
- Malayalam
- Maltese
- Maori
- Marathi
- Mongolian
- Myanmar
- Nepali
- Norwegian
- Norwegian
- Occitan
- Pashto
- Persian
- Polish
- Portuguese
- Punjabi
- Romanian
- Russian
- Samoan
- Scottish Gaelic
- Serbian
- Sesotho
- Shona
- Sindhi
- Sinhala
- Slovak
- Slovenian
- Somali
- Spanish
- Sundanese
- Swahili
- Swedish
- Tagalog
- Tajik
- Tamil
- Tatar
- Telugu
- Thai
- Turkish
- Turkmen
- Ukrainian
- Urdu
- Uighur
- Uzbek
- Vietnamese
- Welsh
- Bantu
- Yiddish
- Yoruba
- Zulu

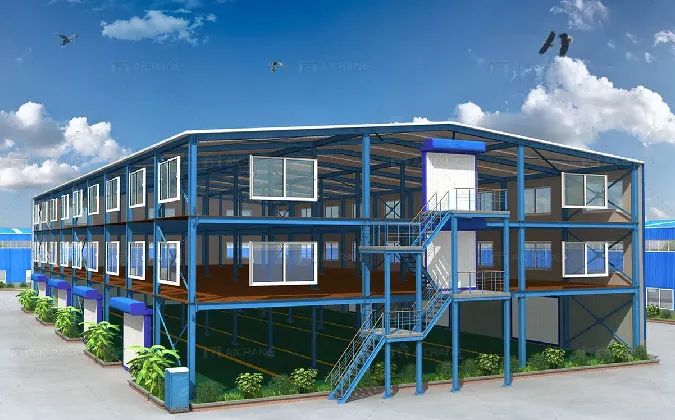
build your own metal shed
Dez . 11, 2024 11:54 Back to list
Building Your Own Metal Shed A Comprehensive Guide
Building your own metal shed can be a rewarding project that not only enhances your property but also provides valuable storage space. Metal sheds offer durability, low maintenance, and security, making them an excellent choice for anyone looking to organize their outdoor space. In this guide, we will walk you through the steps needed to construct your own metal shed, ensuring that you have a well-structured and functional addition to your property.
Step 1 Planning and Design
Before you begin building, it is crucial to plan your project. Consider the purpose of the shed. Will it be used for storage, as a workshop, or perhaps a garden shed? Depending on your needs, the design and size of the shed can vary significantly. Take time to sketch out your ideas, noting dimensions, door placements, and any windows you might want for natural light.
Next, check local building regulations and codes in your area. Some regions may require a building permit for sheds over a certain size. Make sure to follow any zoning laws to avoid potential fines or the requirement to dismantle your shed later.
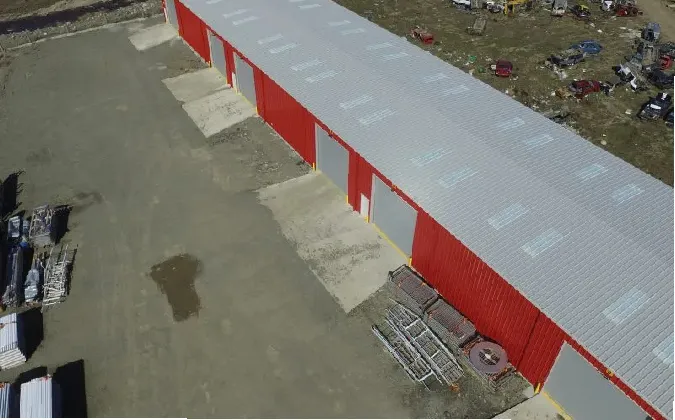
Step 2 Choosing Materials
When it comes to metal sheds, there are various options available, including steel, aluminum, and galvanized materials. Steel is typically the most popular choice due to its strength and resistance to weather and pests. Consider the climate in your area; if you live in a coastal region, opt for stainless steel or aluminum to prevent rusting.
Additionally, choose appropriate insulation if you plan to keep temperature-sensitive items inside the shed
. This step is crucial if you intend to use it as a workshop or artist's studio.Step 3 Selecting a Location
Finding the right spot for your metal shed is critical. Look for a flat area with good drainage to prevent flooding during heavy rains. Avoid placing your shed under trees to reduce the risk of potential branches falling on it. If possible, position your shed where it is easily accessible but does not obstruct walkways or views on your property.
build your own metal shed
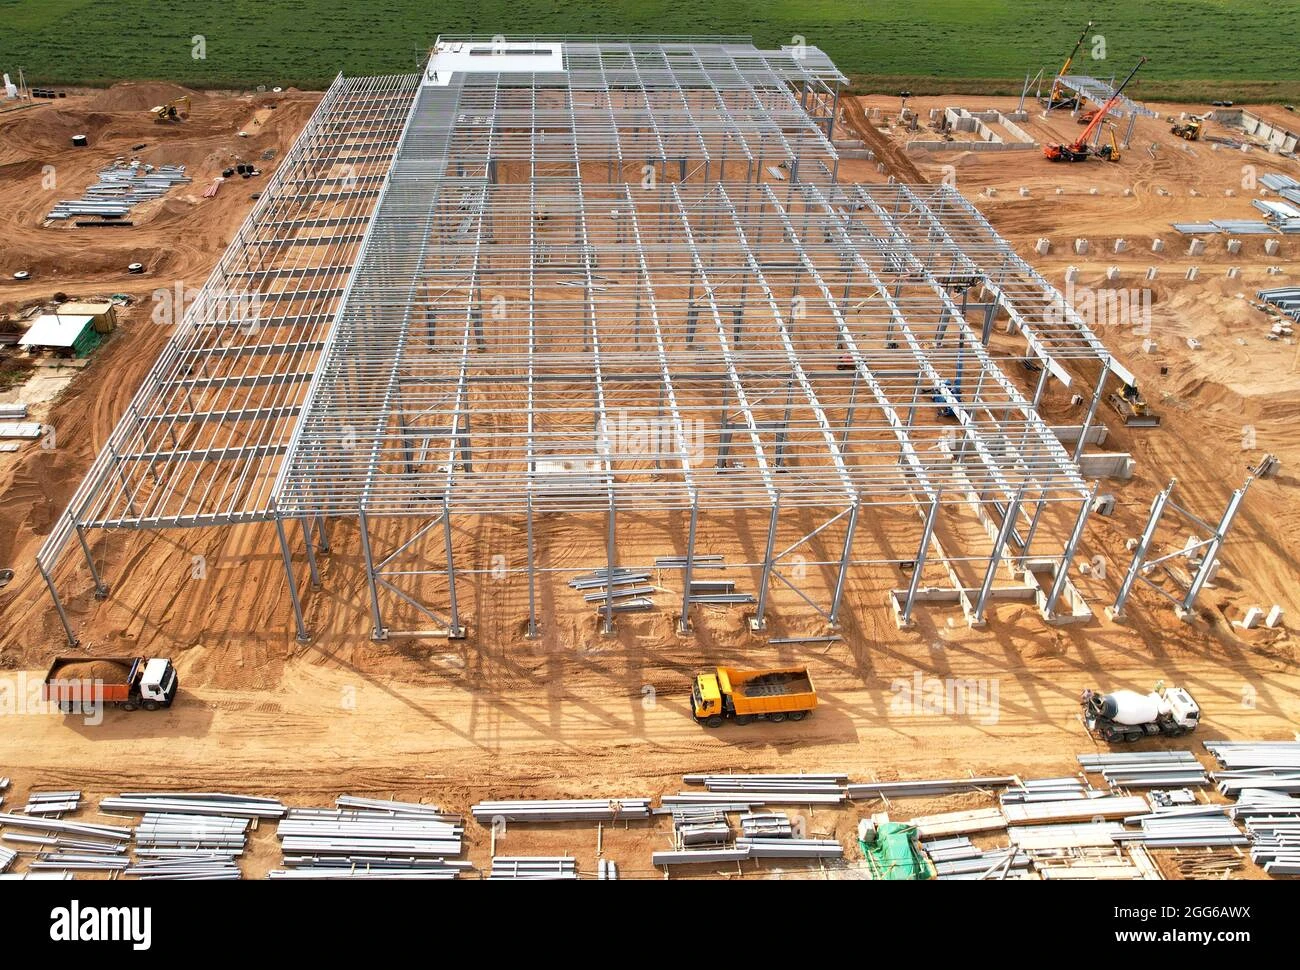
Step 4 Preparing the Foundation
A solid foundation is the backbone of your shed. There are various foundation options, including concrete slabs, treated wood frames, or gravel pads. Concrete is the most durable and widely recommended option. Ensure the foundation is level and properly cured (if applicable) before starting the assembly of your shed.
Step 5 Assembling the Shed
Once your foundation is ready, it’s time to assemble the shed. Most metal sheds come with detailed assembly instructions. Begin by laying out all the parts and materials to ensure you have everything on hand. Starting with the base, gradually build up the framework, attaching walls, roof panels, and doors as you go.
Use a level to ensure everything is straight and aligned. It’s always a good idea to have an extra pair of hands to assist with lifting and securing panels, especially large ones.
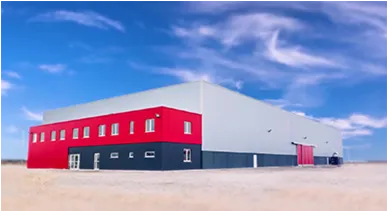
Step 6 Customizing Your Shed
After assembly, personalizing your shed can turn it into a functional space. Install shelves, hooks, and cabinets to organize tools and gardening supplies. Consider painting the exterior, adding decorative elements, or even installing a workbench if you plan to use it as a workshop.
Conclusion
Building your own metal shed is an achievable and valuable project that can greatly enhance your property. With proper planning, choosing the right materials, and following the steps outlined above, you’ll create a durable and functional space tailored to your needs. Embrace the process, and in the end, you'll not only enjoy a new structure, but you'll also gain the satisfaction of having built it yourself. Happy building!
-
Cold Formed Steel Residential Framing
NewsMay.21,2025
-
Innovative Steel Structure Building Solutions
NewsMay.19,2025
-
Innovative Prefab Metal Shed Solutions
NewsMay.19,2025
-
Durable Steel Horse Shelter Solutions
NewsMay.19,2025
-
Durable Metal Shed Solutions
NewsMay.19,2025
-
Durable Big Metal Shed Solutions
NewsMay.19,2025
Products categories
Our Latest News
We have a professional design team and an excellent production and construction team.