- Afrikaans
- Albanian
- Amharic
- Arabic
- Armenian
- Azerbaijani
- Basque
- Belarusian
- Bengali
- Bosnian
- Bulgarian
- Catalan
- Cebuano
- Corsican
- Croatian
- Czech
- Danish
- Dutch
- English
- Esperanto
- Estonian
- Finnish
- French
- Frisian
- Galician
- Georgian
- German
- Greek
- Gujarati
- Haitian Creole
- hausa
- hawaiian
- Hebrew
- Hindi
- Miao
- Hungarian
- Icelandic
- igbo
- Indonesian
- irish
- Italian
- Japanese
- Javanese
- Kannada
- kazakh
- Khmer
- Rwandese
- Korean
- Kurdish
- Kyrgyz
- Lao
- Latin
- Latvian
- Lithuanian
- Luxembourgish
- Macedonian
- Malgashi
- Malay
- Malayalam
- Maltese
- Maori
- Marathi
- Mongolian
- Myanmar
- Nepali
- Norwegian
- Norwegian
- Occitan
- Pashto
- Persian
- Polish
- Portuguese
- Punjabi
- Romanian
- Russian
- Samoan
- Scottish Gaelic
- Serbian
- Sesotho
- Shona
- Sindhi
- Sinhala
- Slovak
- Slovenian
- Somali
- Spanish
- Sundanese
- Swahili
- Swedish
- Tagalog
- Tajik
- Tamil
- Tatar
- Telugu
- Thai
- Turkish
- Turkmen
- Ukrainian
- Urdu
- Uighur
- Uzbek
- Vietnamese
- Welsh
- Bantu
- Yiddish
- Yoruba
- Zulu

Create Your Custom Metal Carport with Personal Features and Design Choices
نويابىر . 09, 2024 16:42 Back to list
Build Your Own Metal Carport A Comprehensive Guide
Are you tired of weathering elements that damage your car? Does your vehicle constantly suffer from the sun's scorching heat, rain, or snow? If so, building your own metal carport could be the perfect solution. A metal carport offers excellent protection for your vehicle and is a cost-effective investment that adds value to your property. In this article, we’ll guide you through the process of building your own metal carport, from planning to construction.
Understanding the Benefits of a Metal Carport
Before diving into the building process, it's essential to understand why a metal carport is a great choice. Metal carports are durable, resistant to rust, and require minimal maintenance compared to wood or fabric alternatives. They stand up well against harsh weather conditions, ensuring your vehicle is well protected. Additionally, metal carports can be customized to fit your specific needs, whether you have a single car or multiple vehicles to shelter.
Step 1 Planning Your Carport
The first step in creating your metal carport is planning. Consider the size and type of carport that best suits your needs. Standard carport sizes range from single to triple vehicle capacity, but you can customize the dimensions based on your space and requirements.
Also, consider the location. Ensure it's a flat area with ample drainage, avoiding spots that may collect water. Check local zoning laws and building codes to see if you need a permit before proceeding. These regulations can vary significantly based on your location.
Step 2 Gather Your Materials
Once you have a clear plan, it's time to gather materials. For a basic metal carport, you will need metal framing (typically made from steel), roofing panels, anchors or bolts for attachment to the ground, and any additional supports you may require. You can purchase pre-engineered carport kits for convenience, which include all necessary materials and instructions.
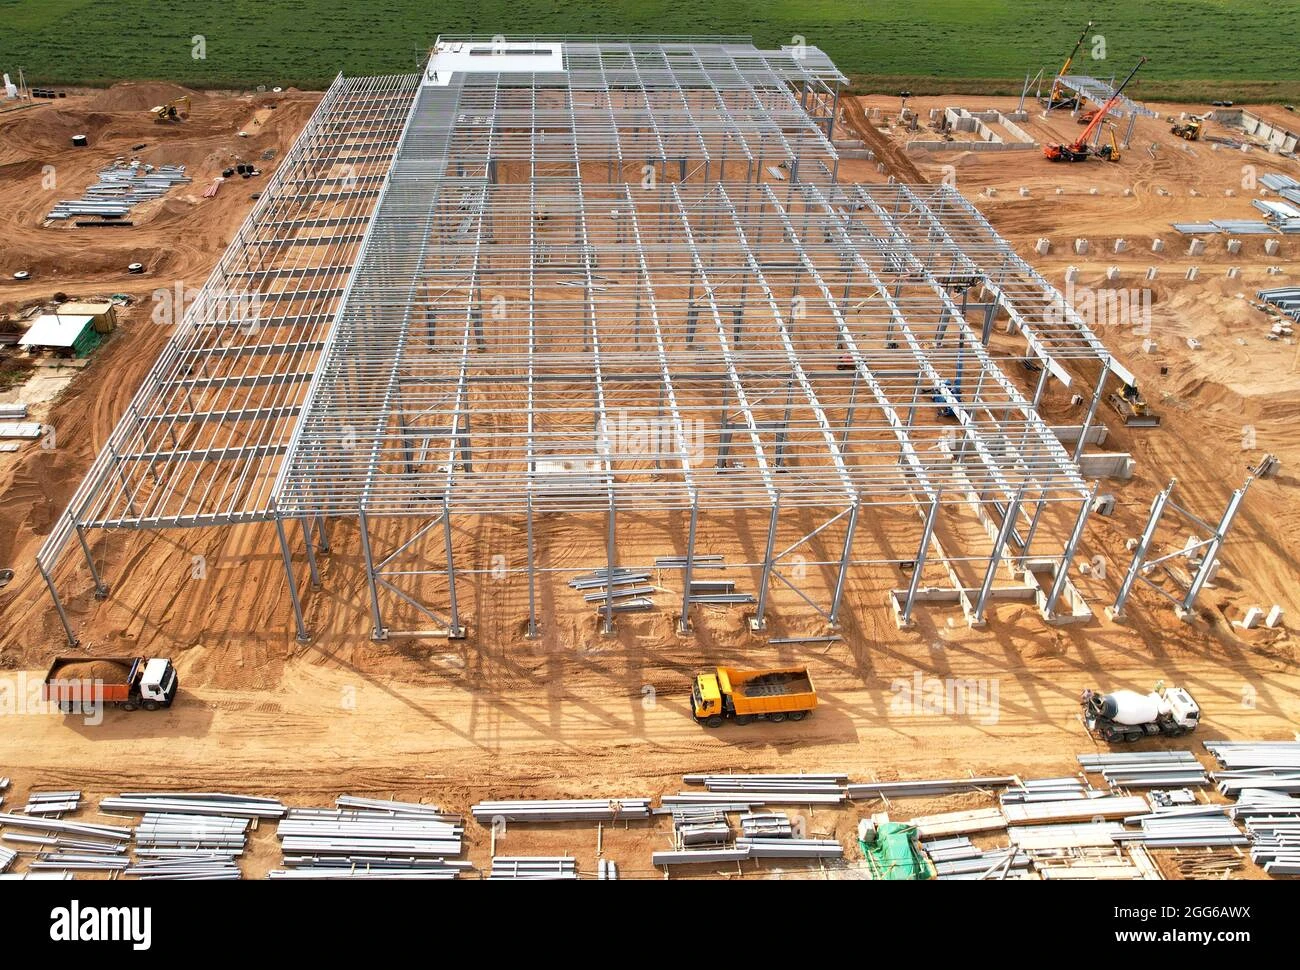
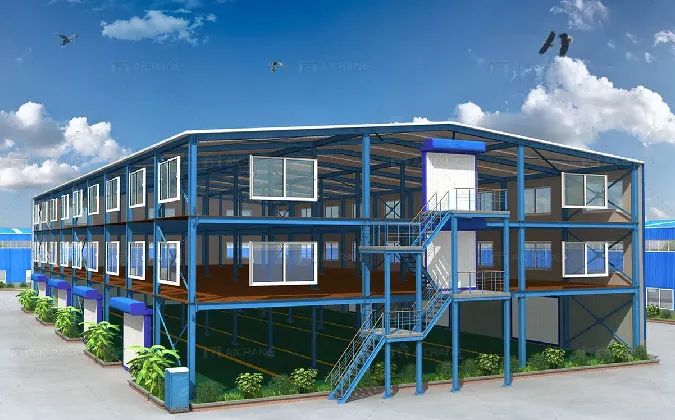
build your own metal carport
Step 3 Prepare the Site
Before construction, prepare your site by clearing away any debris, rocks, or vegetation. You may need to level the ground to ensure a stable foundation. Depending on your design, you might also need to pour concrete footings to anchor the carport securely.
Step 4 Assemble the Carport
With your site prepared and materials in hand, you can begin assembling your carport. Start with the framework, which typically involves erecting vertical support beams and connecting them with horizontal supports. Be sure to follow the manufacturer’s guidelines if you’re using a kit.
Once the framework is up, install the roofing panels. These panels can be corrugated or flat, depending on your design preference. Attach them securely, ensuring there are no gaps where rainwater could seep through.
Step 5 Finishing Touches
After your metal carport is assembled, it’s time to add finishing touches. You may wish to paint or coat the metal to enhance its durability against rust and weathering. Adding lights or a storage area for tools can also make your carport more functional.
Conclusion
Building your own metal carport is a rewarding project that offers long-term benefits. With careful planning, the right materials, and diligent assembly, you can create a sturdy structure that protects your vehicle from the elements. Not only will it safeguard your investment, but it will also enhance the aesthetic appeal of your property. So, roll up your sleeves, gather your materials, and start building your very own metal carport today!
-
Cold Formed Steel Residential Framing
NewsMay.21,2025
-
Innovative Steel Structure Building Solutions
NewsMay.19,2025
-
Innovative Prefab Metal Shed Solutions
NewsMay.19,2025
-
Durable Steel Horse Shelter Solutions
NewsMay.19,2025
-
Durable Metal Shed Solutions
NewsMay.19,2025
-
Durable Big Metal Shed Solutions
NewsMay.19,2025
Products categories
Our Latest News
We have a professional design team and an excellent production and construction team.