- Afrikaans
- Albanian
- Amharic
- Arabic
- Armenian
- Azerbaijani
- Basque
- Belarusian
- Bengali
- Bosnian
- Bulgarian
- Catalan
- Cebuano
- Corsican
- Croatian
- Czech
- Danish
- Dutch
- English
- Esperanto
- Estonian
- Finnish
- French
- Frisian
- Galician
- Georgian
- German
- Greek
- Gujarati
- Haitian Creole
- hausa
- hawaiian
- Hebrew
- Hindi
- Miao
- Hungarian
- Icelandic
- igbo
- Indonesian
- irish
- Italian
- Japanese
- Javanese
- Kannada
- kazakh
- Khmer
- Rwandese
- Korean
- Kurdish
- Kyrgyz
- Lao
- Latin
- Latvian
- Lithuanian
- Luxembourgish
- Macedonian
- Malgashi
- Malay
- Malayalam
- Maltese
- Maori
- Marathi
- Mongolian
- Myanmar
- Nepali
- Norwegian
- Norwegian
- Occitan
- Pashto
- Persian
- Polish
- Portuguese
- Punjabi
- Romanian
- Russian
- Samoan
- Scottish Gaelic
- Serbian
- Sesotho
- Shona
- Sindhi
- Sinhala
- Slovak
- Slovenian
- Somali
- Spanish
- Sundanese
- Swahili
- Swedish
- Tagalog
- Tajik
- Tamil
- Tatar
- Telugu
- Thai
- Turkish
- Turkmen
- Ukrainian
- Urdu
- Uighur
- Uzbek
- Vietnamese
- Welsh
- Bantu
- Yiddish
- Yoruba
- Zulu
Nov . 21, 2024 19:59 Back to list
Building a Metal Pole Barn A Practical Guide
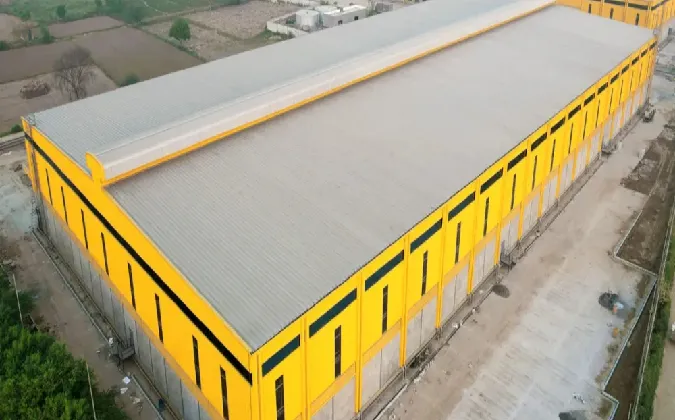
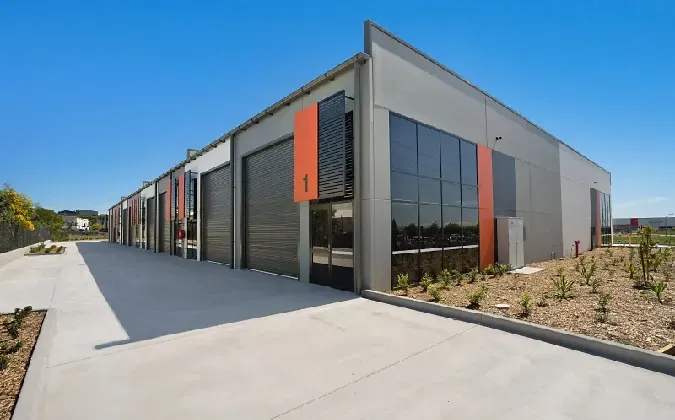
Constructing a metal pole barn can be an excellent solution for a variety of needs, whether you're looking for extra storage, a workshop, or even a place to house animals. Metal pole barns are renowned for their durability, low maintenance requirements, and cost-effectiveness compared to traditional wooden structures. This article will guide you through the essential steps and considerations for building your own metal pole barn.
1. Planning and Design
The first step in building a metal pole barn is proper planning. Start by assessing your needs what will the barn be used for? The size and layout of your barn will depend significantly on its intended purpose. For instance, if you're planning to store large equipment, ensure your design allows for ample space and accessibility. Consider including features such as doors, windows, and ventilation to enhance functionality.
It's also crucial to check local zoning regulations and building codes. Some areas require permits for construction, and adhering to these guidelines will save you from potential fines or the need to alter your structure later.
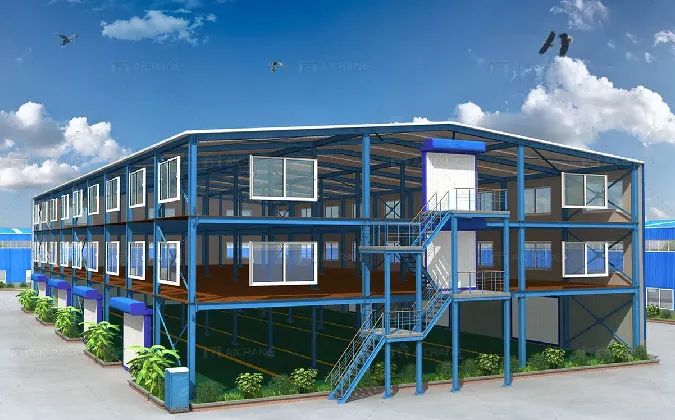
Metal pole barns are primarily constructed using metal sheeting and treated wood or metal poles. The poles will serve as the main support structure, while the metal siding provides protection against the elements. When selecting materials, opt for high-quality, rust-resistant metal to ensure longevity. Galvanized steel is a popular choice due to its durability.
Additionally, consider insulation options if the barn will be used for livestock or delicate equipment. Insulation helps maintain temperature control, providing a suitable environment for animals and safeguarding tools from extreme temperatures.
3. Preparing the Site
building metal pole barn
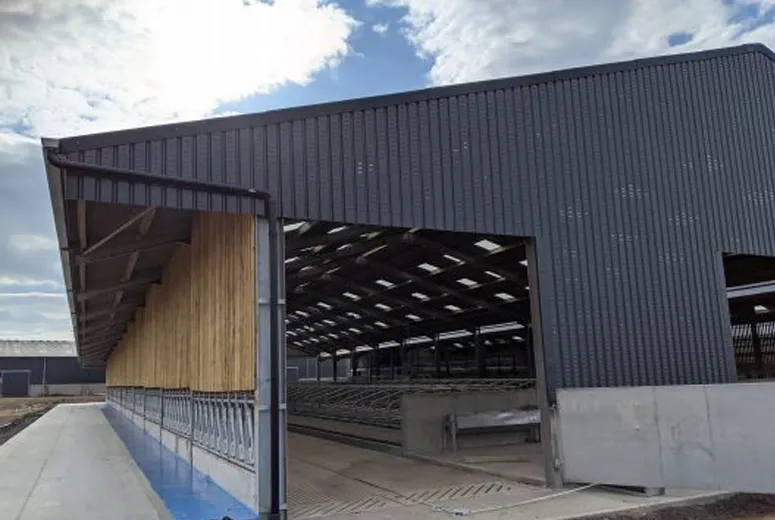
Once you've finalized your design and gathered materials, it's time to prepare the building site. Start by clearing the area of any debris, vegetation, or large rocks. A level foundation is critical for the structural integrity of your barn, so use a leveling tool to ensure the ground is flat. Depending on your design, you may need to pour concrete footings or lay gravel to serve as a base for the pole structure.
4. Constructing the Barn
Begin construction by setting the poles into the ground or concrete footings. It's recommended to dig holes that are at least 3-4 feet deep to provide stability, especially in areas with high winds or heavy snowfall. Once the poles are securely in place, you can attach the framework for the roof and walls.
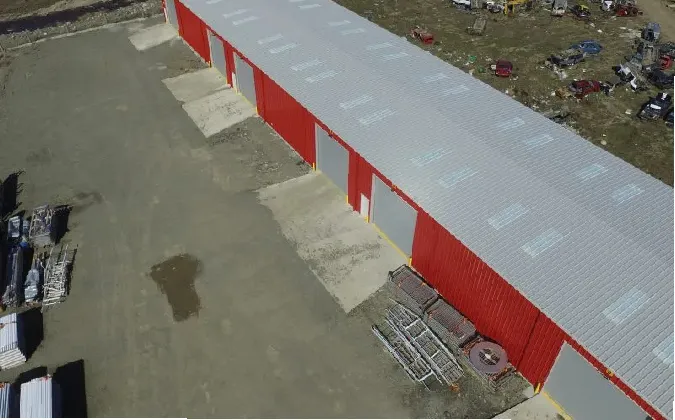
After constructing the frame, proceed with attaching the metal sheeting. Ensure that you use screws specifically designed for metal buildings to prevent leaks and secure the panels tightly. Don’t forget to install doors and windows at this stage to provide access and natural light.
5. Final Touches
With the main structure complete, it’s time for the finishing touches. This could include adding electrical wiring, lighting, ventilation systems, or even paint for aesthetics. Landscaping around the barn can also enhance its appearance and functionality, particularly if you're creating paths for accessing equipment or livestock.
Conclusion
Building a metal pole barn can be a rewarding project, offering practical solutions for various needs. By taking the time to plan, select quality materials, prepare your site, and construct your barn properly, you can create a durable and functional space that will serve you well for many years to come. Whether you're a DIY enthusiast or hiring professionals, this versatile building can meet countless needs on your property.
-
The Rise of Prefabricated Metal Structures in Modern Industry
NewsJul.28,2025
-
The Landscape of Prefabricated Metal Building Solutions
NewsJul.28,2025
-
Analyzing Costs and Pricing Dynamics in Prefabricated Steel and Metal Buildings
NewsJul.28,2025
-
Advance Industrial Infrastructure with Prefabricated Steel Solutions
NewsJul.28,2025
-
Advancing Industrial Infrastructure with Prefabricated Metal Warehousing Solutions
NewsJul.28,2025
-
Advancing Industrial and Commercial Spaces with Prefabricated Steel Solutions
NewsJul.28,2025
Products categories
Our Latest News
We have a professional design team and an excellent production and construction team.


