- Afrikaans
- Albanian
- Amharic
- Arabic
- Armenian
- Azerbaijani
- Basque
- Belarusian
- Bengali
- Bosnian
- Bulgarian
- Catalan
- Cebuano
- Corsican
- Croatian
- Czech
- Danish
- Dutch
- English
- Esperanto
- Estonian
- Finnish
- French
- Frisian
- Galician
- Georgian
- German
- Greek
- Gujarati
- Haitian Creole
- hausa
- hawaiian
- Hebrew
- Hindi
- Miao
- Hungarian
- Icelandic
- igbo
- Indonesian
- irish
- Italian
- Japanese
- Javanese
- Kannada
- kazakh
- Khmer
- Rwandese
- Korean
- Kurdish
- Kyrgyz
- Lao
- Latin
- Latvian
- Lithuanian
- Luxembourgish
- Macedonian
- Malgashi
- Malay
- Malayalam
- Maltese
- Maori
- Marathi
- Mongolian
- Myanmar
- Nepali
- Norwegian
- Norwegian
- Occitan
- Pashto
- Persian
- Polish
- Portuguese
- Punjabi
- Romanian
- Russian
- Samoan
- Scottish Gaelic
- Serbian
- Sesotho
- Shona
- Sindhi
- Sinhala
- Slovak
- Slovenian
- Somali
- Spanish
- Sundanese
- Swahili
- Swedish
- Tagalog
- Tajik
- Tamil
- Tatar
- Telugu
- Thai
- Turkish
- Turkmen
- Ukrainian
- Urdu
- Uighur
- Uzbek
- Vietnamese
- Welsh
- Bantu
- Yiddish
- Yoruba
- Zulu
Aug . 15, 2024 09:10 Back to list
How to Build a Shed Frame A Step-by-Step Guide
Building a shed frame is a practical and rewarding DIY project that not only enhances your property but also provides valuable storage space. Whether you're a seasoned craftsman or a beginner, understanding the fundamentals of shed framing is essential for achieving a solid and long-lasting structure. This article will guide you through the essential steps to build a sturdy shed frame.
Step 1 Planning Your Shed
Before diving into construction, it's crucial to plan your shed carefully. Consider factors such as size, design, and location. Draw up a design blueprint that includes dimensions, door placements, and window locations. Check with local building codes and zoning laws to ensure your plans comply with regulations. Additionally, decide on the materials you’ll use; common choices for framing include pressure-treated lumber for lower structures (like the floor) and regular lumber for the walls and roof.
Step 2 Gather Your Materials and Tools
Once your plans are finalized, gather all necessary materials and tools. For the frame, you’ll typically need
- Pressure-treated 2x6 or 2x8 lumber for the floor - Standard 2x4 lumber for walls and roof - Plywood sheets for the exterior sheathing - Fasteners, including nails and screws - Metal brackets or ties for extra stability (optional)
In terms of tools, ensure you have
- A power saw (circular or miter) - A drill - A tape measure - A level - A square - A hammer - Safety gear like goggles and gloves
Step 3 Preparing the Site
Select a level area for your shed. Clear any debris, rocks, or vegetation from the site. If necessary, create a foundation by laying concrete blocks or pouring a concrete slab. This will help protect your shed from moisture and provide a stable base.
Step 4 Constructing the Floor Frame
build a shed frame
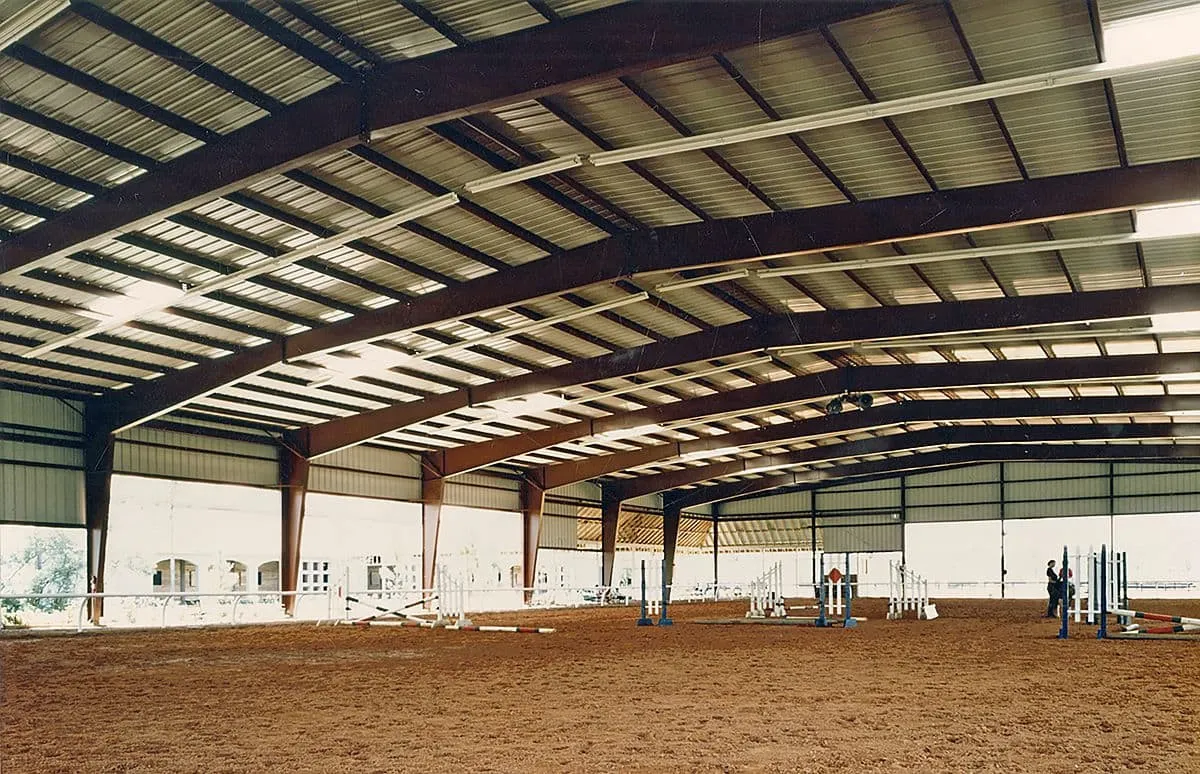
Start by constructing the floor frame. Lay out the pressure-treated lumber in a rectangular shape, connecting the corners with 2x4s. Ensure that the frame is square using your square tool, and then secure the joints with nails or screws. Add cross braces for additional strength, particularly in larger sheds. Once the frame is complete, cover it with plywood, securing it at intervals to ensure durability.
Step 5 Building the Wall Frames
Next, it’s time to build the wall frames. Cut 2x4s to your desired wall height, and lay them out flat on the ground. Assemble the framing by attaching top and bottom plates to vertical studs, typically spaced 16 inches apart. Don’t forget to leave openings for doors and windows. After assembling the frames, lift them into position and secure them to the floor frame with screws.
Step 6 Raising the Walls
With the wall frames in place, it’s time to raise them. Get a helping hand for this step, as walls can be heavy. Lift each wall into an upright position and secure them together at the corners. Use a level to ensure they are plumb, adjusting as necessary before finalizing the connections.
Step 7 Adding the Roof Frame
The roof frame often consists of trusses or simple rafters. If using trusses, pre-assemble them on the ground for easier installation. Ensure they’re spaced correctly to support the roofing material you choose. Attach the roof frame to the top plates of the walls, securing everything with nails and brackets for stability.
Step 8 Final Touches
After the frame is complete, you can add sheathing to the walls and roof. Use plywood or OSB (oriented strand board) for this task. Seal any gaps to protect against rain and pests. Finally, you can paint or stain your shed to protect the wood further and enhance its appearance.
Conclusion
Building a shed frame can be a fulfilling project that provides both function and aesthetic appeal to your outdoor space. By following these steps, you can create a sturdy, customizable shed that meets your storage needs while adding value to your property. Remember to take your time, prioritize safety, and enjoy the process!
-
Steel Frame Factory with Insulated Roof Panels
NewsAug.14,2025
-
Prefab Metal Building with Insulation Package Options
NewsAug.14,2025
-
Industrial Steel Sheds for Temporary Workshop Use
NewsAug.14,2025
-
Metal Workshops Featuring Corrugated Steel Roofs
NewsAug.14,2025
-
Modular Steel Frame Excellence: Our Pursuit of Perfection
NewsAug.14,2025
-
Metal Garage Kits Crafted with Customer Satisfaction at Heart
NewsAug.14,2025
Products categories
Our Latest News
We have a professional design team and an excellent production and construction team.


