- Afrikaans
- Albanian
- Amharic
- Arabic
- Armenian
- Azerbaijani
- Basque
- Belarusian
- Bengali
- Bosnian
- Bulgarian
- Catalan
- Cebuano
- Corsican
- Croatian
- Czech
- Danish
- Dutch
- English
- Esperanto
- Estonian
- Finnish
- French
- Frisian
- Galician
- Georgian
- German
- Greek
- Gujarati
- Haitian Creole
- hausa
- hawaiian
- Hebrew
- Hindi
- Miao
- Hungarian
- Icelandic
- igbo
- Indonesian
- irish
- Italian
- Japanese
- Javanese
- Kannada
- kazakh
- Khmer
- Rwandese
- Korean
- Kurdish
- Kyrgyz
- Lao
- Latin
- Latvian
- Lithuanian
- Luxembourgish
- Macedonian
- Malgashi
- Malay
- Malayalam
- Maltese
- Maori
- Marathi
- Mongolian
- Myanmar
- Nepali
- Norwegian
- Norwegian
- Occitan
- Pashto
- Persian
- Polish
- Portuguese
- Punjabi
- Romanian
- Russian
- Samoan
- Scottish Gaelic
- Serbian
- Sesotho
- Shona
- Sindhi
- Sinhala
- Slovak
- Slovenian
- Somali
- Spanish
- Sundanese
- Swahili
- Swedish
- Tagalog
- Tajik
- Tamil
- Tatar
- Telugu
- Thai
- Turkish
- Turkmen
- Ukrainian
- Urdu
- Uighur
- Uzbek
- Vietnamese
- Welsh
- Bantu
- Yiddish
- Yoruba
- Zulu
Aug . 30, 2024 08:02 Back to list
Erecting a Metal Shed A Step-by-Step Guide
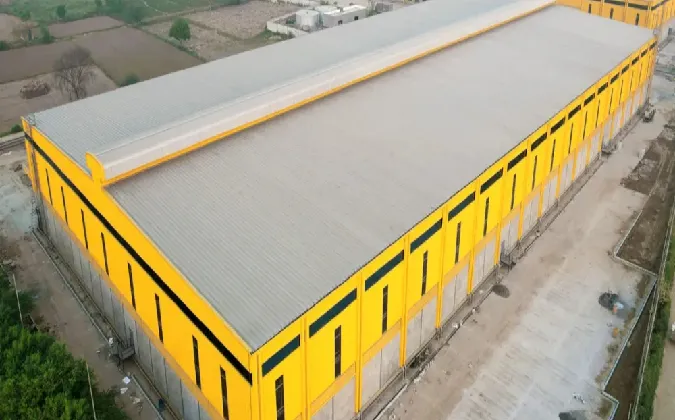
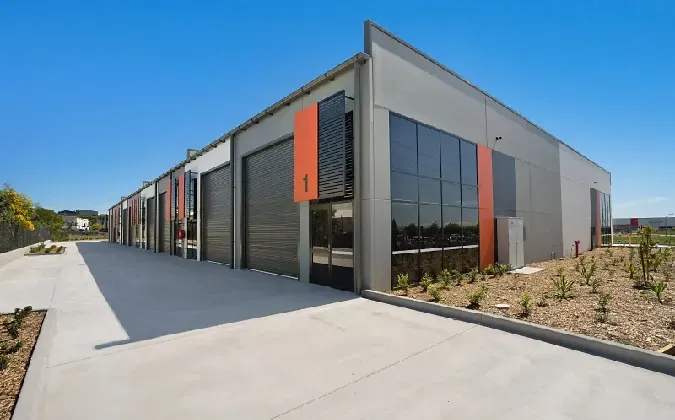
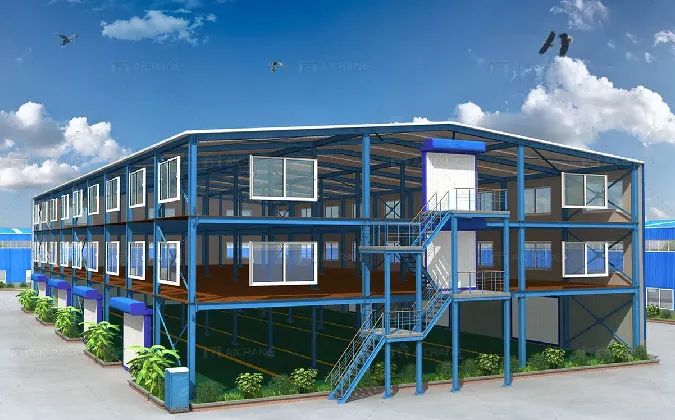
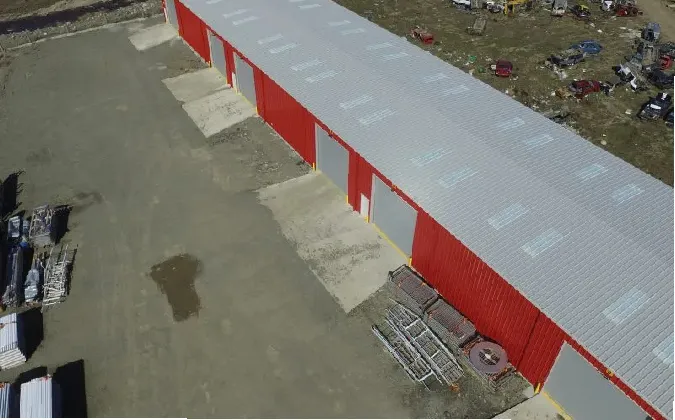
Building a metal shed can be an excellent investment for both storage and workshop space. Metal sheds are durable, weather-resistant, and can provide years of reliable service if erected correctly. Below is a step-by-step guide to help you successfully erect a metal shed, ensuring a strong structure and optimized functionality.
Step 1 Planning and Preparation
Before you start the construction, careful planning is essential. First, determine the purpose of the shed—will it be used for storage, as a workshop, or perhaps a hobby space? Once the purpose is clear, choose a suitable location in your yard. Look for a flat, level area that is easily accessible and not prone to flooding or drainage issues.
Next, ensure that you check local building codes and regulations. Some municipalities require permits for sheds, particularly if they exceed certain dimensions. It’s also wise to check any homeowners' association rules if applicable.
Step 2 Gather Materials and Tools
After you have your plans in place, gather all necessary materials. For a metal shed, you will typically need pre-cut metal panels, screws, anchors, and a foundation material such as concrete blocks or a concrete slab. Additionally, acquire tools such as a drill, screwdrivers, level, measuring tape, and possibly a saw.
Step 3 Preparing the Foundation
erecting a metal shed
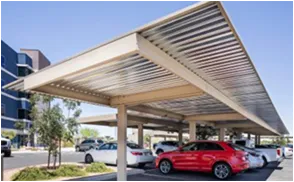
A solid foundation is crucial for the longevity of your metal shed. Start by marking the shed perimeter using stakes and string. For a more permanent solution, pour a concrete slab. Alternatively, you can use concrete blocks or treated wood to create a base. Ensure that the foundation is square and level, as any inconsistencies can lead to structural issues later on.
Step 4 Assembling the Shed
Once the foundation is ready, begin assembling the shed. Follow the manufacturer’s instructions carefully, as each shed might have specific requirements. Start with the base frame and work your way up. Install the wall panels, ensuring they are aligned properly and securely fastened.
Next, attach the roof panels. Metal roofs are usually designed to shed water, but it’s crucial to ensure that all seams are sealed adequately to prevent leaks. If the manufacturer provides additional components, like skylights or ventilation systems, install those as well.
Step 5 Finishing Touches
After the main structure is up, it’s time for the finishing touches. Add shelves, pegboards, or hooks inside to maximize your storage capabilities. If desired, paint or treat the exterior to further protect against the elements and add a personal touch.
Lastly, consider landscaping around the shed to improve aesthetics and provide easy access.
In conclusion, erecting a metal shed requires thoughtful planning, preparation, and precise execution. With the right approach, your metal shed can become a valuable addition to your property, providing you with a practical space for years to come.
-
Steel Frame Factory with Insulated Roof Panels
NewsAug.14,2025
-
Prefab Metal Building with Insulation Package Options
NewsAug.14,2025
-
Industrial Steel Sheds for Temporary Workshop Use
NewsAug.14,2025
-
Metal Workshops Featuring Corrugated Steel Roofs
NewsAug.14,2025
-
Modular Steel Frame Excellence: Our Pursuit of Perfection
NewsAug.14,2025
-
Metal Garage Kits Crafted with Customer Satisfaction at Heart
NewsAug.14,2025
Products categories
Our Latest News
We have a professional design team and an excellent production and construction team.


