- Afrikaans
- Albanian
- Amharic
- Arabic
- Armenian
- Azerbaijani
- Basque
- Belarusian
- Bengali
- Bosnian
- Bulgarian
- Catalan
- Cebuano
- Corsican
- Croatian
- Czech
- Danish
- Dutch
- English
- Esperanto
- Estonian
- Finnish
- French
- Frisian
- Galician
- Georgian
- German
- Greek
- Gujarati
- Haitian Creole
- hausa
- hawaiian
- Hebrew
- Hindi
- Miao
- Hungarian
- Icelandic
- igbo
- Indonesian
- irish
- Italian
- Japanese
- Javanese
- Kannada
- kazakh
- Khmer
- Rwandese
- Korean
- Kurdish
- Kyrgyz
- Lao
- Latin
- Latvian
- Lithuanian
- Luxembourgish
- Macedonian
- Malgashi
- Malay
- Malayalam
- Maltese
- Maori
- Marathi
- Mongolian
- Myanmar
- Nepali
- Norwegian
- Norwegian
- Occitan
- Pashto
- Persian
- Polish
- Portuguese
- Punjabi
- Romanian
- Russian
- Samoan
- Scottish Gaelic
- Serbian
- Sesotho
- Shona
- Sindhi
- Sinhala
- Slovak
- Slovenian
- Somali
- Spanish
- Sundanese
- Swahili
- Swedish
- Tagalog
- Tajik
- Tamil
- Tatar
- Telugu
- Thai
- Turkish
- Turkmen
- Ukrainian
- Urdu
- Uighur
- Uzbek
- Vietnamese
- Welsh
- Bantu
- Yiddish
- Yoruba
- Zulu
Nov . 03, 2024 10:25 Back to list
Framing in a Metal Carport A Comprehensive Guide
When it comes to outdoor structures, metal carports have gained immense popularity due to their durability, affordability, and versatility. Framing is a crucial part of constructing a metal carport, as it provides the necessary support and stability required for the structure. In this article, we will explore the essentials of framing in a metal carport, including the materials needed, the steps involved, and tips for successful construction.
Understanding the Basics
Before diving into the specifics of framing, it’s essential to understand what a carport is and its typical components. A carport is an open or partially enclosed structure designed to offer protection for vehicles against weather elements, such as rain, snow, and sunlight. A typical metal carport consists of a roof, vertical supports (posts), and a base (often concrete or steel).
Materials Needed
1. Metal Frame The primary material for framing a metal carport is typically galvanized steel due to its strength and resistance to rust and corrosion. You’ll need horizontal and vertical sections to create a sturdy frame.
2. Fasteners Bolts, screws, and brackets are essential for securely joining the framing together. It’s crucial to use weather-resistant fasteners to ensure longevity.
4. Tools A drill, measuring tape, level, and wrench will be required to assemble the metal frame correctly.
Step-by-Step Framing Process
framing in a metal carport
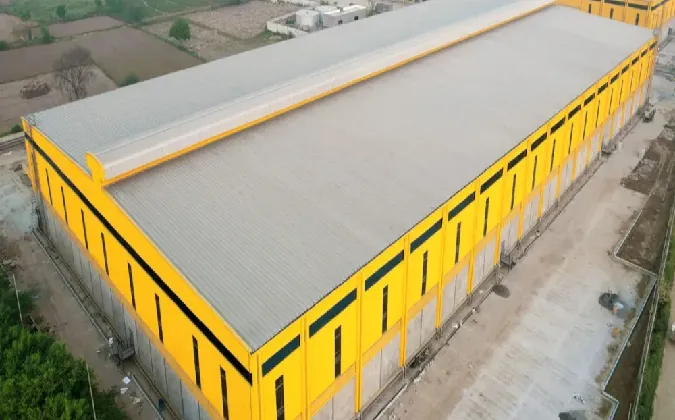
1. Planning and Design Before beginning construction, decide on the dimensions of the carport based on your vehicle’s size and the space available in your yard. Sketch a basic design, noting where posts and beams will be placed.
2. Lay the Foundation Pour concrete or install a gravel base where the carport will be erected. Make sure the foundation is level and solid, as this will directly impact the stability of the carport.
3. Install Vertical Posts Position the vertical metal posts at each corner of the foundation outline, ensuring they are plumb (vertically straight) and secure them with concrete or anchors. Use a level to check for accuracy.
4. Attach Horizontal Beams Once the vertical posts are in place, attach horizontal beams connecting the tops of these posts. Ensure they’re secure, as they will provide essential support for the roof.
5. Add Cross Bracing For additional stability, install cross-bracing between the vertical and horizontal members. This step helps to prevent swaying and adds rigidity to the frame.
6. Roof Structure Finally, construct the roof frame by adding more horizontal beams, ensuring they are evenly spaced. Reinforce the structure according to local building codes to withstand weather conditions such as heavy snow or strong winds.
Final Touches and Maintenance
After the framing is complete, you can add roofing panels, side walls, or even a painted finish to enhance the appearance of your carport. Regular maintenance checks are vital to ensure that joints remain secure and that there is no rust or corrosion developing on the metal surfaces.
In conclusion, framing a metal carport is not only a practical endeavor but also a rewarding DIY project. By understanding the materials, following a structured process, and implementing maintenance practices, you can create a durable and attractive structure that serves your needs for years to come.
-
How Do Prefabricated Steel Structures Transform Modern Construction?
NewsJul.14,2025
-
How Do Prefabricated Metal Buildings Redefine Modern Construction?
NewsJul.14,2025
-
How Do Prefab Insulated Metal Buildings and Steel Structures Revolutionize Modern Construction?
NewsJul.14,2025
-
How Do Pre - Engineered Steel Structures Redefine Modern Construction?
NewsJul.14,2025
-
Advancing Modular Construction with Prefabricated Metal Structures
NewsJul.14,2025
-
Advancing Industrial Infrastructure with Prefabricated Steel Solutions
NewsJul.14,2025
Products categories
Our Latest News
We have a professional design team and an excellent production and construction team.


